Events are a new type of Course that you can apply in your academy. Thanks to Events, you may create training with instructors, allow users to choose the most suitable timing, and manage the list of attendees. Learners can sign up by booking their attendance at one of the available events.
Following those simple steps, you’ll learn how to set up an Event course.
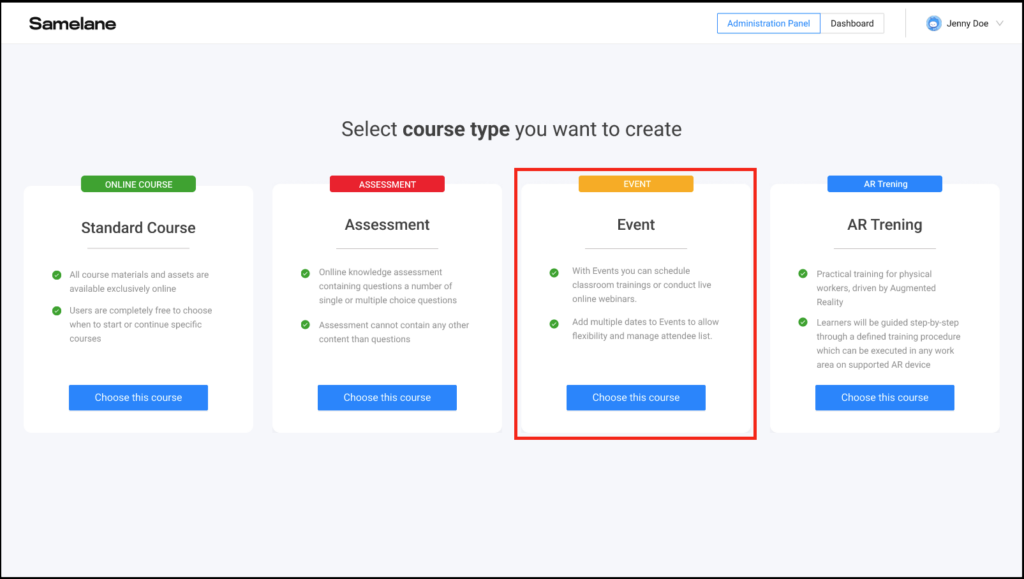
When you log in to the platform, choose Content, click on Courses and select +New Course
If it’s not the first time you create a course, most probably you are already familiar with most of the Course Creator options. However, if you have not created any courses yet, we recommend reading this first.
You can choose between 3 different Courses’ types to create Events for your learners:
- Classroom training – Arrange the event timing and oversight the list of attendees for your preloaded course.
- Webinar (Premium feature) – Organize a live course for your learners enabling real-time interaction.
- Mix (Premium feature) – Set up a Location for your live webinar and blend it with preloaded materials.
To run an Event you need to set up the following:
- Start and End date
- Start and End time
- Choose the timezone
- Location – If your event is organized via Google Meet, Microsoft Teams, or any other video conferencing tool, place the link here.
You can limit the amount of attendees for each event by selecting a limited number of participants and defining the maximum number of users that can attend the Event.
Please know that you can add multiple dates for one Event so that your learners will be able to choose the most suitable timing. You can still modify the event after it is published by adding more dates to it, and increasing its availability to other learners.
After you submit the Event, you can assign Learners to it the same way as with any other Course. What is more, the Event can be put out as a public course, available for the learners to sign up for.
Go to the Content tab, click on Courses, and select the one you want to assign your Learners to.
The assigned learner can select the date and time that suits him best, as shown below.
Platform Admins can edit the list of attendees. When the Event is done, Admin should confirm if the user has in fact attended it. To have the course completed, the learner’s attendance has to be validated by the admin.
Go to the Content tab, click on Courses, select three dots and click on the Event Attendees to see the full list.